Appearance
Editing elements
Select a row in the outliner to edit it in the inspector. Changes apply to the open version straight away. They are saved to the database only when you save; the toolbar says Unsaved until you do.
Settings rows
Every setting is a row: the name on the left and its field on the right. Number fields take typed values. Menus (such as blending) open a list. Rows that hold several numbers, like pos x.y.z, put one field per number. Colour rows open a colour picker. Point at a name to read what it does.
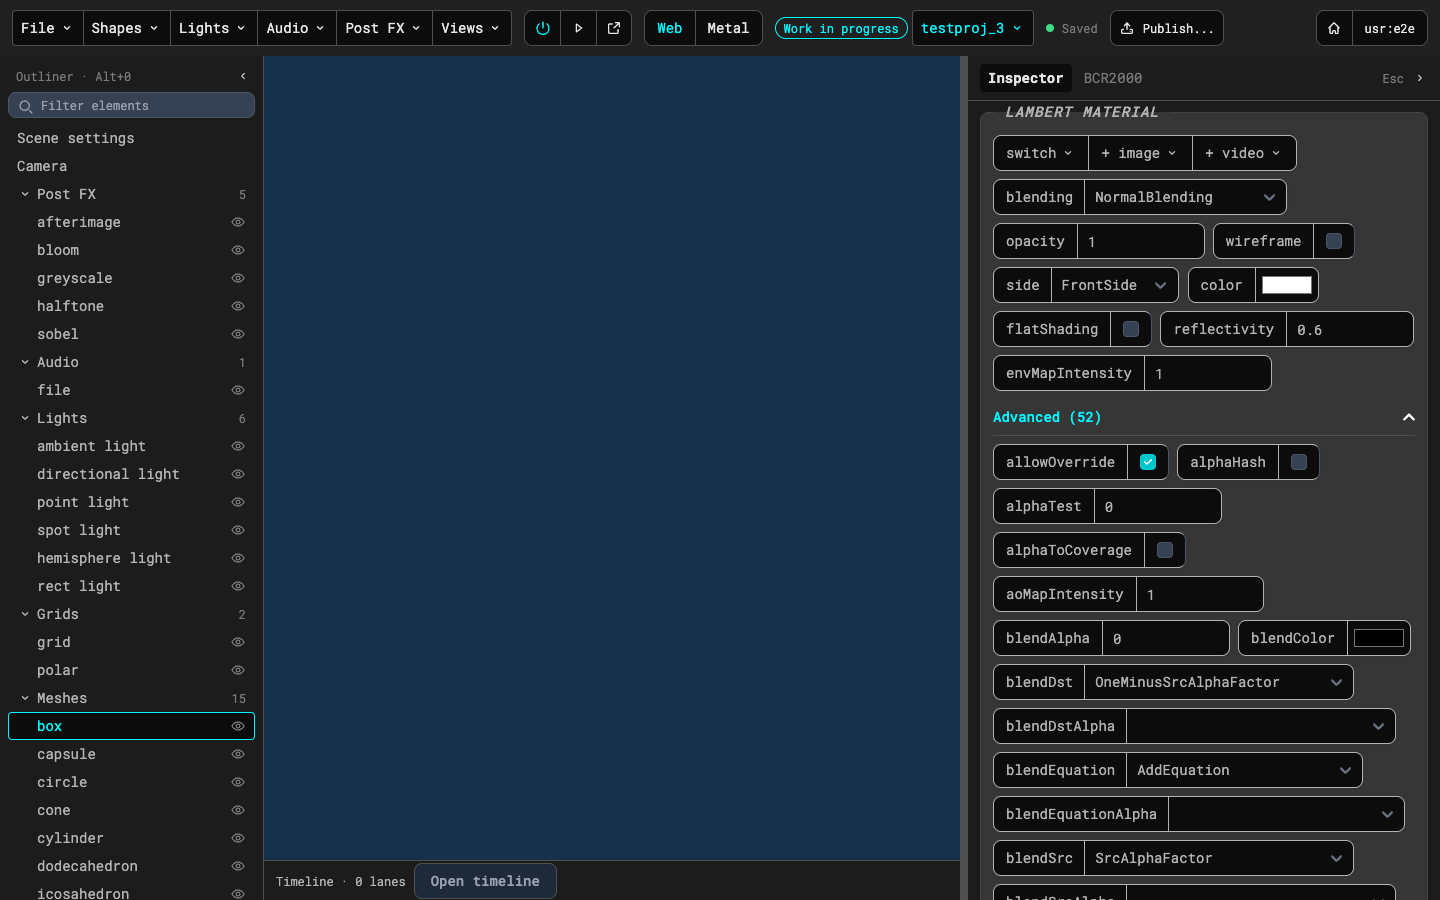
Settings used less often are folded into an Advanced row at the bottom of a panel. It shows how many settings are inside and how many are changed from their defaults, for example Advanced (6, 6 set). Click it to open it.
Element actions
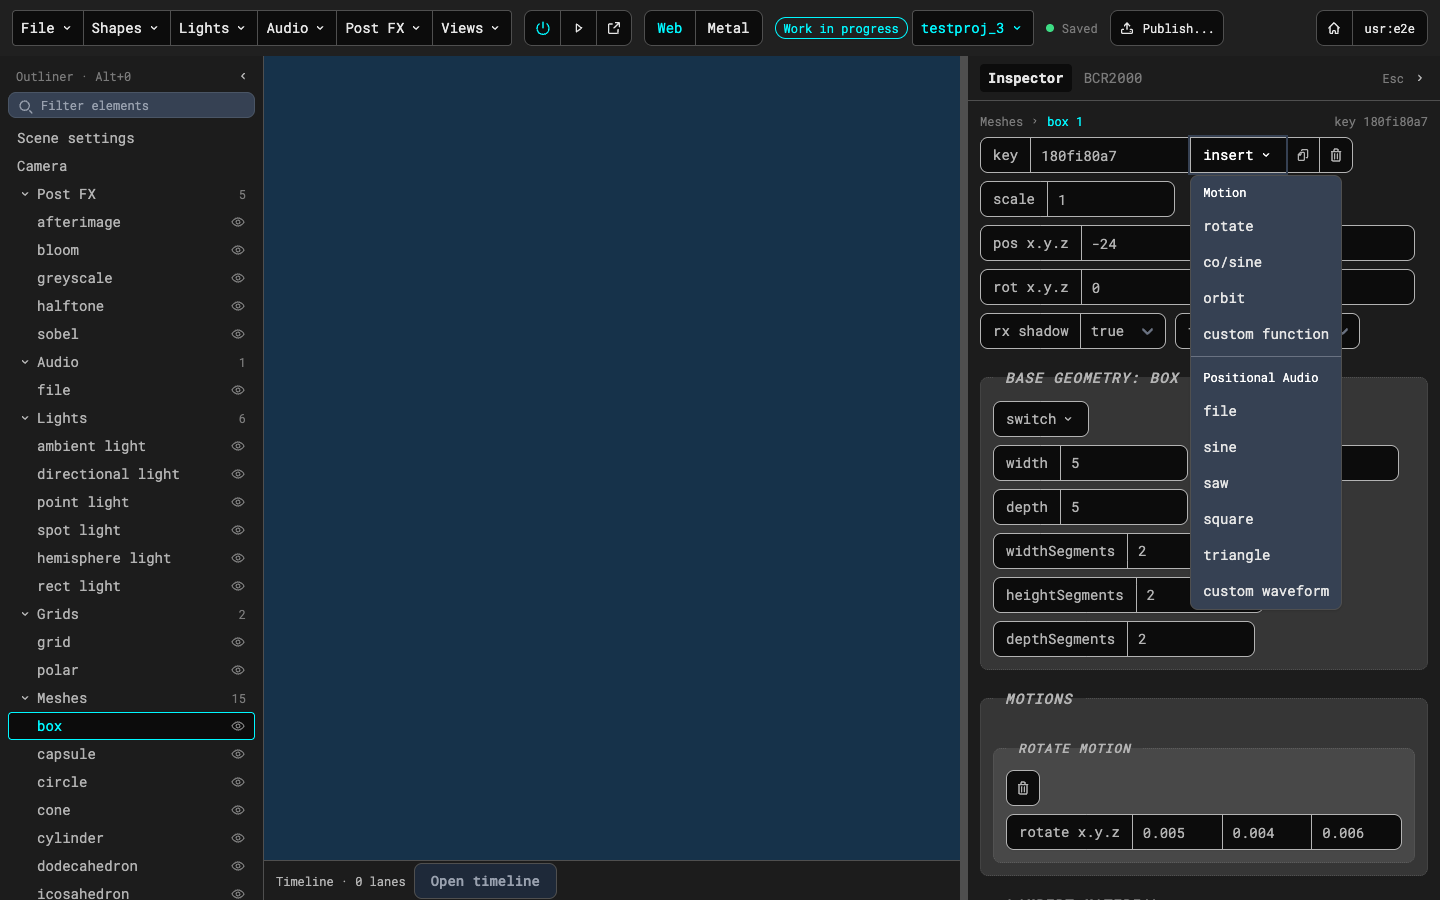
Every element's panel starts with a row of actions: its key (the name the runner and Functions use to find it), an insert menu where the element can take one, a duplicate button that copies the element, and a remove button that deletes it.
The insert menu
On meshes, OBJs and instance geometries the insert menu adds a motion: rotate, co/sine, orbit or custom function. Meshes and OBJs also offer Positional Audio: file, sine, saw, square, triangle or custom waveform. The audio plays from the element, so it gets louder as the camera comes closer.
Scene settings
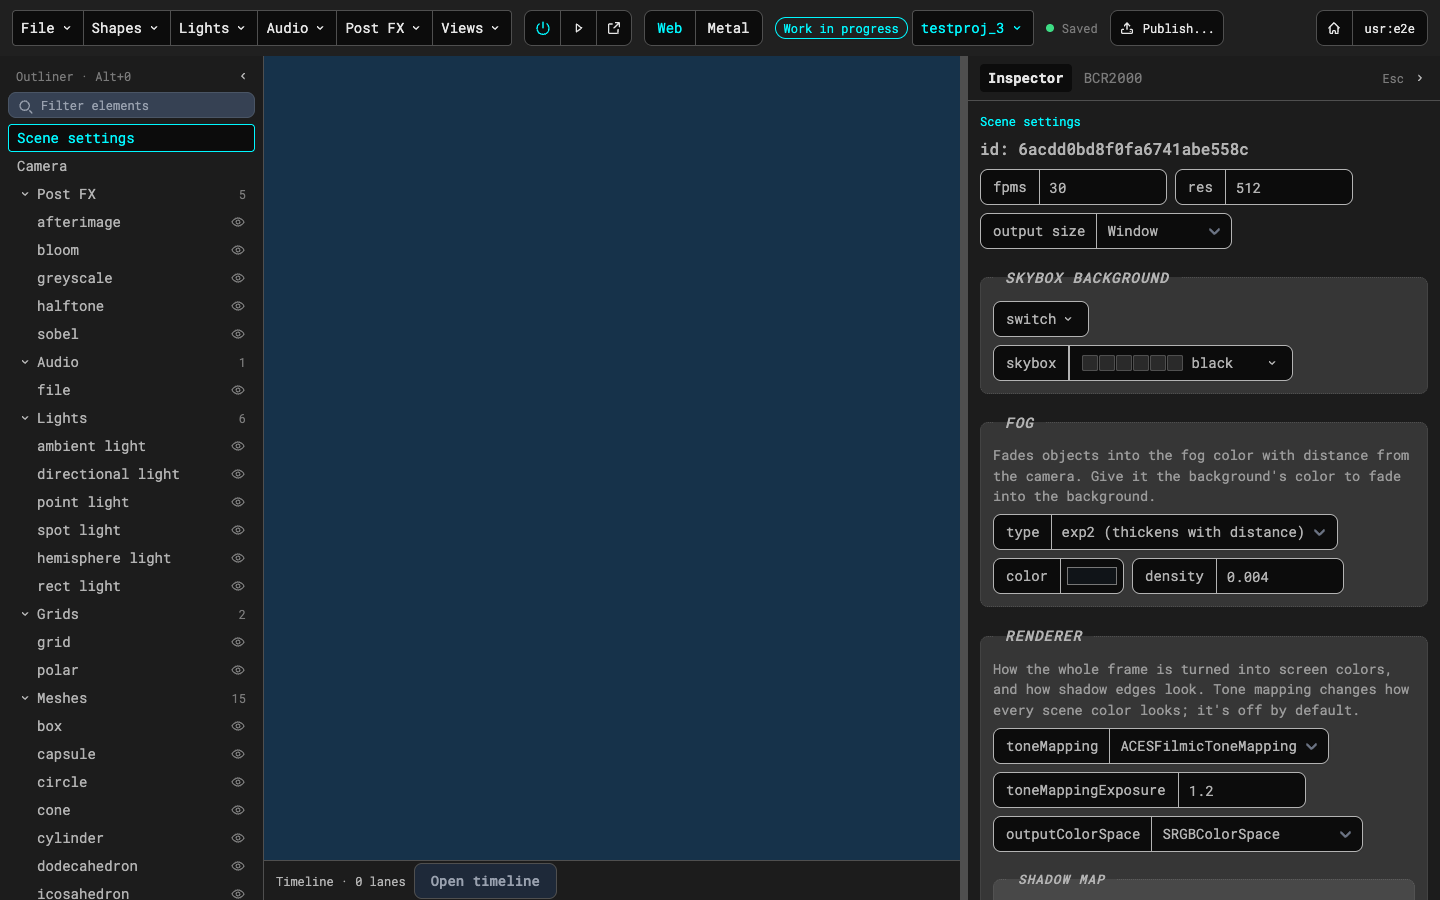
The first row of the outliner. It holds the background (a colour or a skybox; the switch menu changes between them), fog (type, colour and density; give the fog the colour of the background to fade objects into it), and the renderer (tone mapping, exposure, output colour space and the shadow map type), and the tempo (a BPM from 20 to 300, default 120, that synced video flips follow; a dial can drive it, see Target dials). It also holds the fpms and res settings at the top of the panel, and the output size row below them: Window fills the native runner's window, a ratio takes the largest box of that ratio inside it, and Custom size sets pixels, checked against what the native runner can draw and record (the web preview ignores it).
Camera
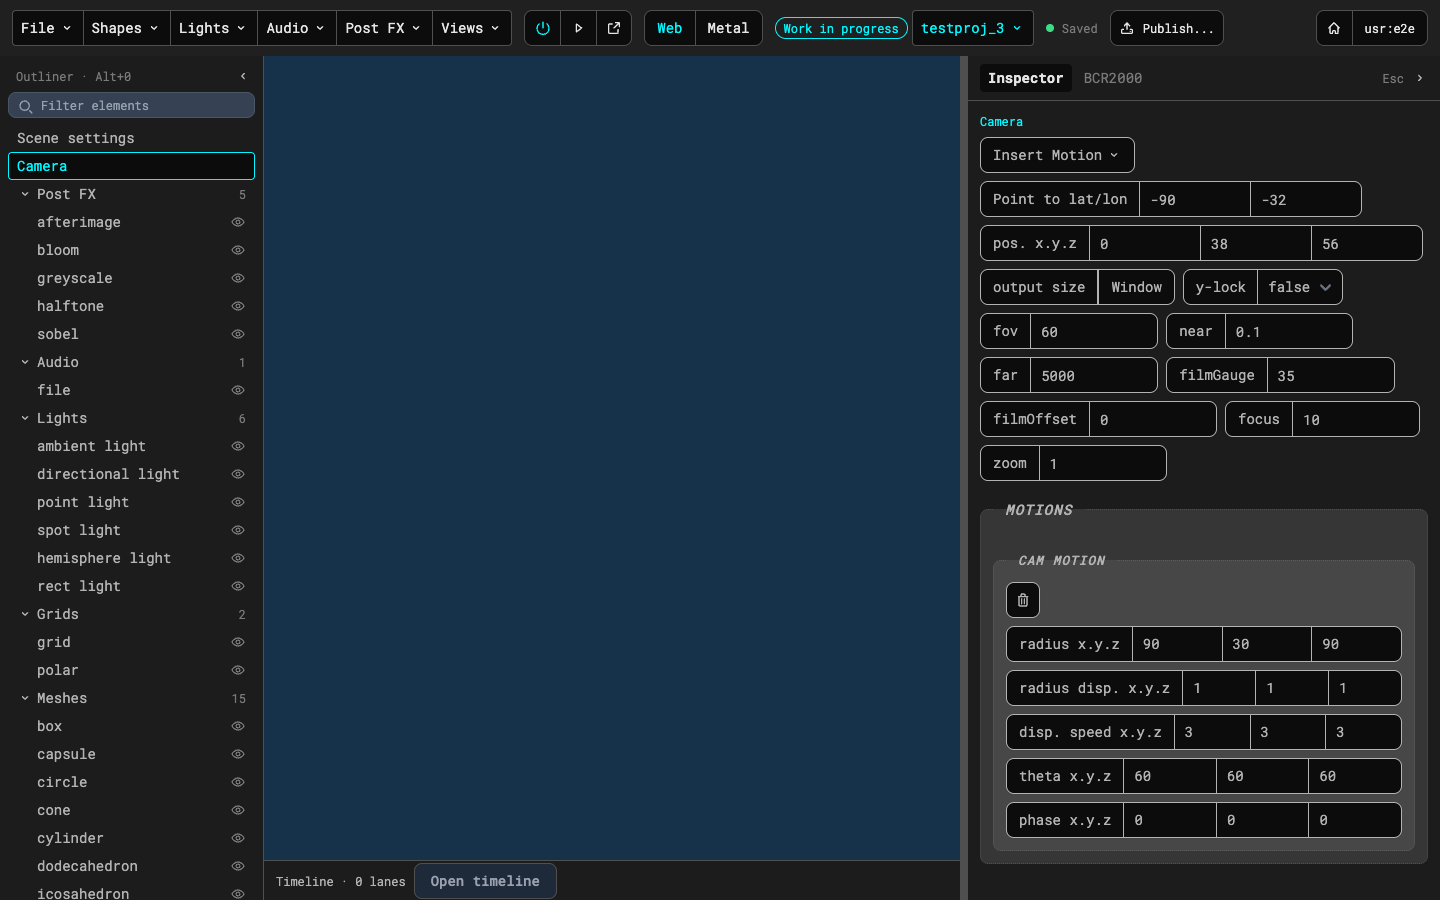
The camera's position and where it points, its lens (fov, near, far, zoom, focus, film gauge and offset), a y-lock, and an output size row that shows the value and opens Scene settings. Insert Motion is a menu that adds a camera motion: Orbit, which moves the camera around the scene, or Focus sweep, which swings the depth of field's focus distance (Swing in scene units either side, Rate in cycles, counted per second or per beat of the scene tempo, and Phase) and never moves the camera. A Focus sweep does nothing in a scene with no Depth of field pass, and the runner's overlay says so.
Meshes
A mesh is a geometry with a material, placed in the scene. Its panel has, from the top:
- General settings: scale, position, rotation, and whether it casts and receives shadows.
- Base geometry: the shape's own settings (width, segments and so on). The switch menu changes the shape. A parametric mesh gets its surface from a function, see Functions, Gamepads and BCR2000.
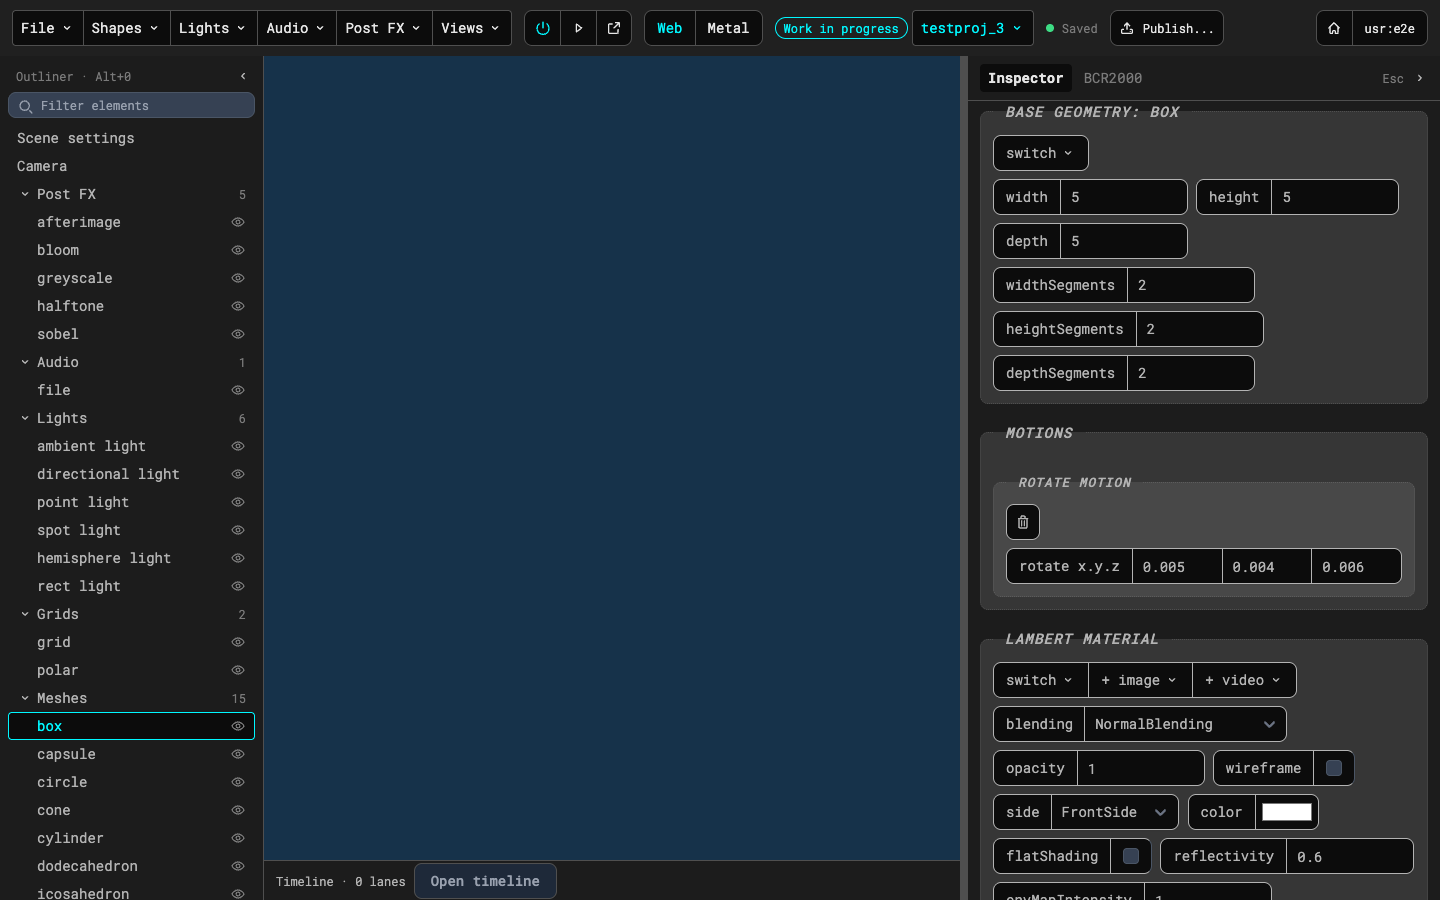
- Motions: each motion is its own group with a remove button. Rotate turns the mesh at a rate per axis, co/sine moves it back and forth, orbit moves it on an ellipse, and custom function calls one of your mesh functions every frame.
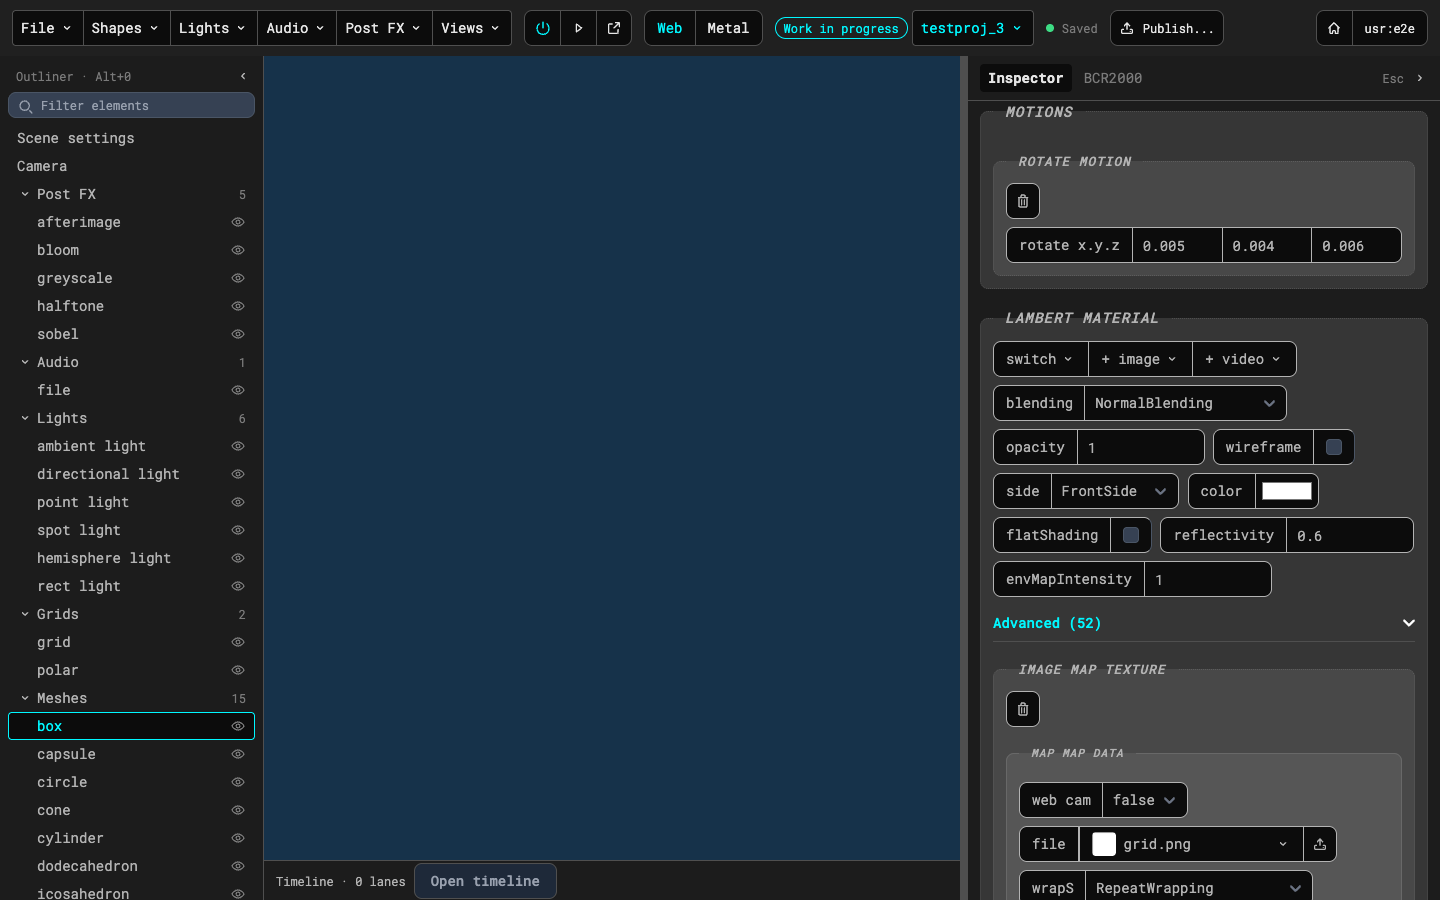
- Material: the type (basic, lambert, phong, toon, standard, physical or shader), changed with the switch menu, and the settings that type has. The + image and + video menus add a texture.
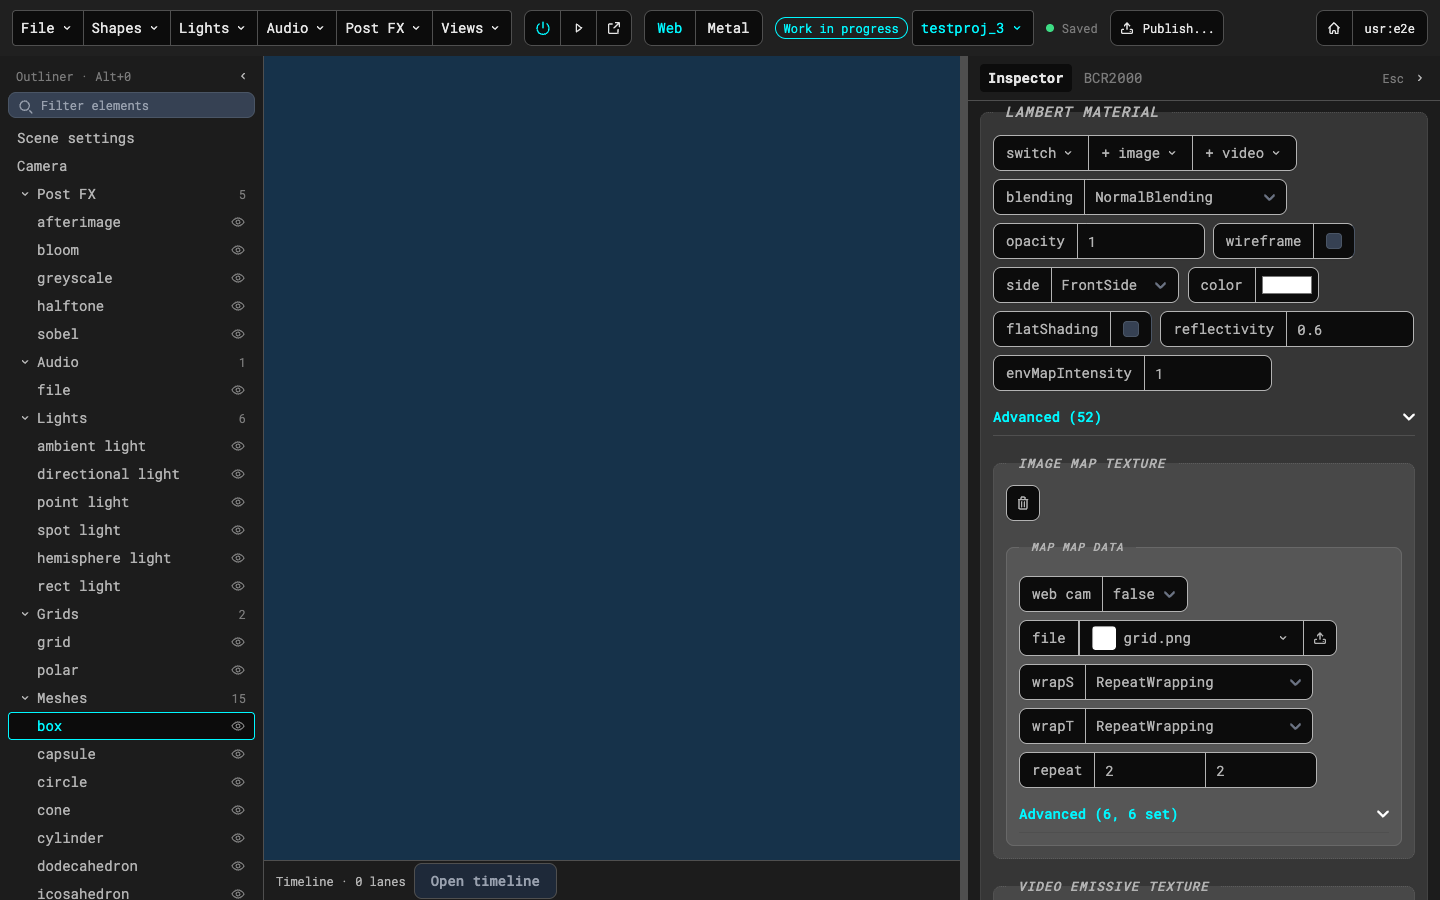
- Textures: an image or video on one of the material's map slots. Each has a file field (see Media), how it wraps and repeats, and an Advanced section. A video texture also has volume, speed, a start (s) and loop. The start is how many seconds into the clip the video begins (a start past the clip's length wraps around it); it then loops from the beginning, so two copies of one clip stay the same distance apart. A webcam has no start.
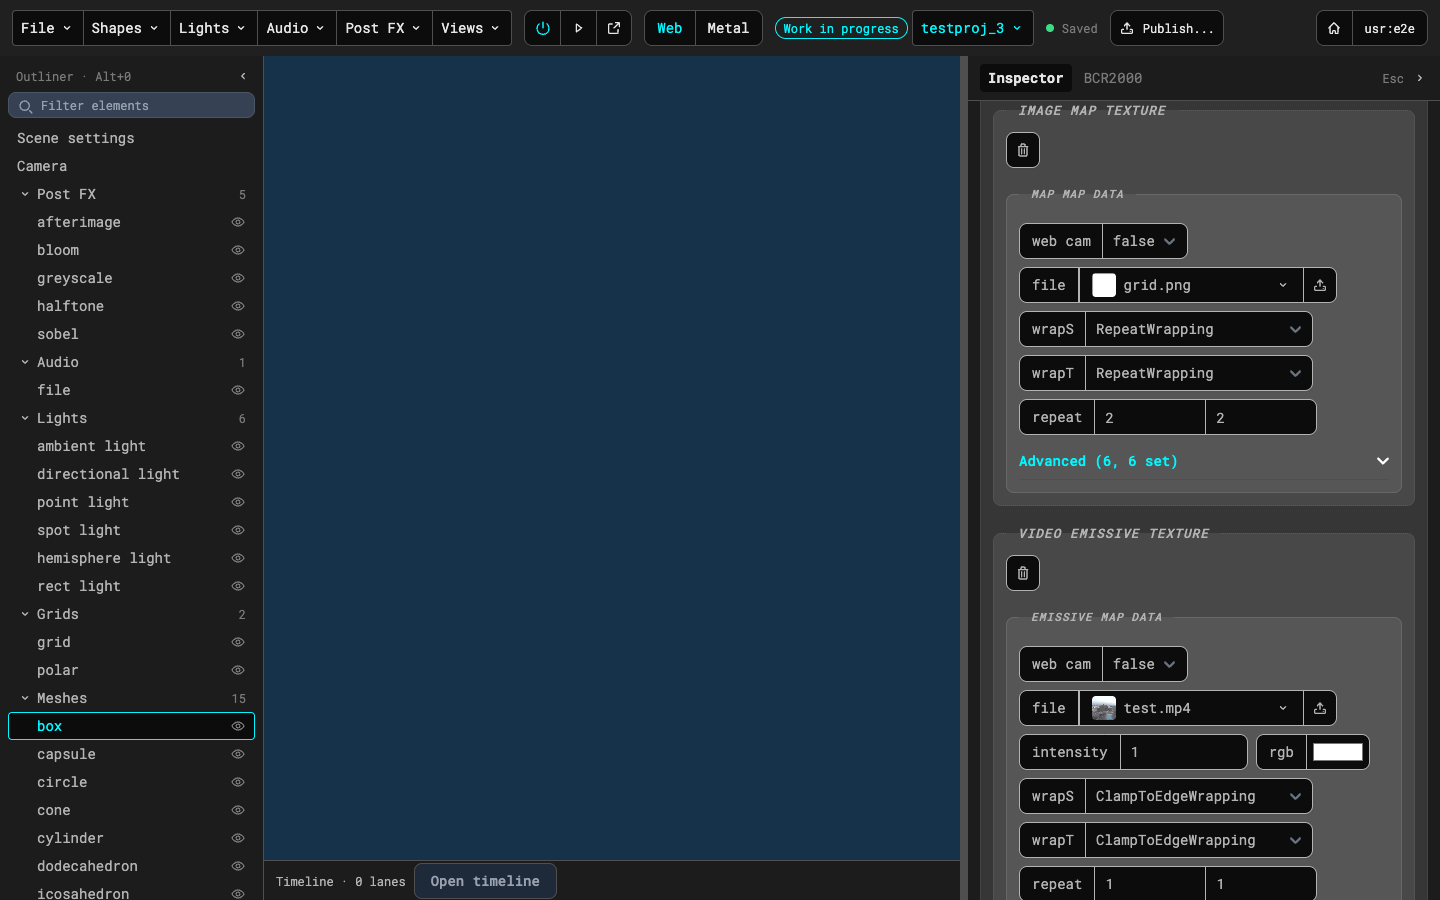
Video flip. A material takes a second video on its colour map: + video › map twice (a third is refused, and a second image on the colour map is still refused). With two video maps the material shows a Video flip section. Switch flip on and the picture flips by itself between the two videos, A (the first) and B (the second), and crossfades. Put the same clip on both maps and give B a start of a few seconds, and the figure is in a different place after each flip. The settings:
- sync is free or scene tempo. Free flips at its own rate in milliseconds (30 to 10000). Scene tempo flips every so many beats (1/8, 1/6, 1/4, 1/3, 1/2, 2/3, 1, 4/3, 2 or 4) of the BPM in Scene settings; the 1/6, 1/3, 2/3 and 4/3 are triplets, and a triplet flip still lands on the beat every 1, 2 or 4 beats; all the elements that are synced flip together, and changing the BPM speeds them up without a jump.
- crossfade % (0 to 100) is the share of each flip that is spent fading. 0 is a hard cut back and forth, 100 fades all the time, 50 fades for the first half of each flip and then holds the picture.
The flip works on meshes, on OBJs and on instance geometries. The sound follows the picture: each video's volume is its own volume times its share of the mix, so a cut switches the sound and a crossfade fades it. While a picture is fully showing, the other video is not drawn at all. A flip with fewer than two video maps says so in the runner's overlay and the element draws as usual. The native runner does not do the flip yet: it plays these scenes without the flip.
On a shader material the first video's tex<N> holds the mix and the second video's tex<N> stays the plain video, so the shader needn't do anything. The runner also sets a flipMix uniform, a float from 0 (A) to 1 (B) that is the live mix, which the shader can use for its own transition between two textures. A shader that doesn't declare it ignores it, and the editor doesn't list flipMix as a uniform of yours:
glsl
uniform sampler2D tex0; // video A
uniform sampler2D tex1; // video B, plain
uniform float flipMix;
// a wipe from A to B instead of a fade
gl_FragColor = vUv.x < flipMix ? texture2D(tex1, vUv) : texture2D(tex0, vUv);
The two videos are separate files in memory even when they are the same clip, so a flipping element costs two video decodes. To flip a clip against itself backwards, make a reversed copy beforehand and use it as the second map: ffmpeg -i clip.mp4 -vf reverse -af areverse clip-rev.mp4. Browsers cannot play a video backwards.
Key out black. A video texture (a file or a webcam) can drop its black out of the picture, so what is behind it shows through. Set key out black to true on the texture and two rows appear:
- threshold (0 to 1, default 0.1) is the brightness at and below which a pixel is cut. It is measured as luma, the picture's own brightness (0 is black, 1 is white), so it is the same whatever the codec: camera footage and compressed clips are rarely pure black, more like 0.06 to 0.08, which a threshold of 0.1 catches. Raise it until the black is gone, and lower it if dark parts of the picture start to vanish.
- softness (0 to 0.5, default 0.05) is how far above the threshold the edge fades in instead of cutting. 0 is a hard edge; a few hundredths hides the noise in dark footage.
The key reads the video before anything tints it, so a red material colour or a collider colour way with a zero channel colours the picture and doesn't cut it out, and saturated reds, blues and yellows in the footage stay. A keyed pixel is cut out completely: it hides nothing behind it, so instances behind a keyed area of a collider grid show through from every angle. The soft edge is a smooth fade where the material is drawn blended (an opacity below 1 in a scene without post-processing passes) and a fine grain everywhere else, including every collider and any scene with a post pass, which looks like a fade from a normal distance. A material whose opacity dial first drops below 1 changes from grain to fade as it does. With a video flip, the first video's key applies to the mix. On a shader material every keyed video is keyed automatically wherever the shader reads it as texture2D(tex0, ...), with no change to the saved shader (a shader that hands the sampler to a function of its own isn't keyed), and the fragment is cut or faded by the darkest keyed sample it took. The key applies to the colour map of basic, lambert, phong and standard materials; toon and physical materials have no map here. A keyed-out area of a built-in material or a collider casts no shadow; a shader material keeps its full shadow. The Mac runner keys the same way, shadows and shader materials included (a package published before the Mac runner could key needs publishing again).
A shader material shows its vertex and fragment shader as code to edit.
Shader helper. The Shader helper button above a shader material's code opens an assistant. Type a question and press Send; the reply streams in, with a Stop button. The current vertex and fragment code, the uniforms and the textures always go with the question, so you can ask for a new shader ("a slow scrolling stripe pattern using tex0 with a speed uniform"), or work on the one that is there: what does this do, make it twice as slow, why does it look wrong, make this old scene shader work in this runner, or add range comments to its uniforms. An answer that only explains has no code. When it changes code, each vertex or fragment block is shown in a side-by-side diff against the code you sent, so you can read the change first. Apply to vertex or Apply to fragment (whichever the block is) replaces that field with the block, Apply both does both at once, and Save as new library shader asks for a title and adds the block to your shader library. Nothing changes in the scene until you press an Apply button. The helper knows the runner (GLSL ES 1.0, texture2D, the time, resolution and tex0 uniforms, the range comment format) and your BCR2000 setup: it writes a few scalar uniforms with ranges worth performing, lists them as dial-ready and names free encoders of your controllers, but it never maps a dial for you. It needs your key on the Profile page; the modal says so with a link when there is none. If the runner cannot compile the shader of a mesh, an OBJ or an instance geometry, a Fix this error button appears next to Shader helper; it opens the helper with the compile log in the question. The server settings are DST_SECRETS_KEY, DST_AI_MODEL and DST_AI_MODE (see the README).
Suggested ranges and descriptions. Older shaders (Times Squares v26, the amorphics scenes) have uniforms with only a starting value, so nothing says how far a slider or a dial should go. When some uniform of a shader material has no min, no max or no desc in its Uniforms JSON, the Uniforms section shows Suggest ranges and descriptions (with Shader analysis on Manual; on Auto the same request goes out by itself). The helper reads both shaders, works out from how the code uses each of those uniforms a sensible min and max (for numbers, ints and vectors) and a one-line description of what changing it does to the picture, and lists them under the rows as "Suggested by the helper". Nothing is written until you choose: Accept writes one uniform's suggestion, Accept all writes the whole list, and Dismiss throws it away. An Accept only fills what is still missing at that moment, so a value, a range or a description you set yourself is never overwritten. The result is kept in the Uniforms JSON as { "value": 1.5, "min": 0, "max": 5, "desc": "How fast the stripes scroll" }; the desc is shown as a small line under the uniform's row and as a tooltip on its name, the dials read only min and max, and the runner ignores desc. Colours, bools and matrices get a description only. To change a desc afterwards, edit the Uniforms JSON. Without a saved key the button is disabled and links to the Profile page, and Auto never asks.
OBJs
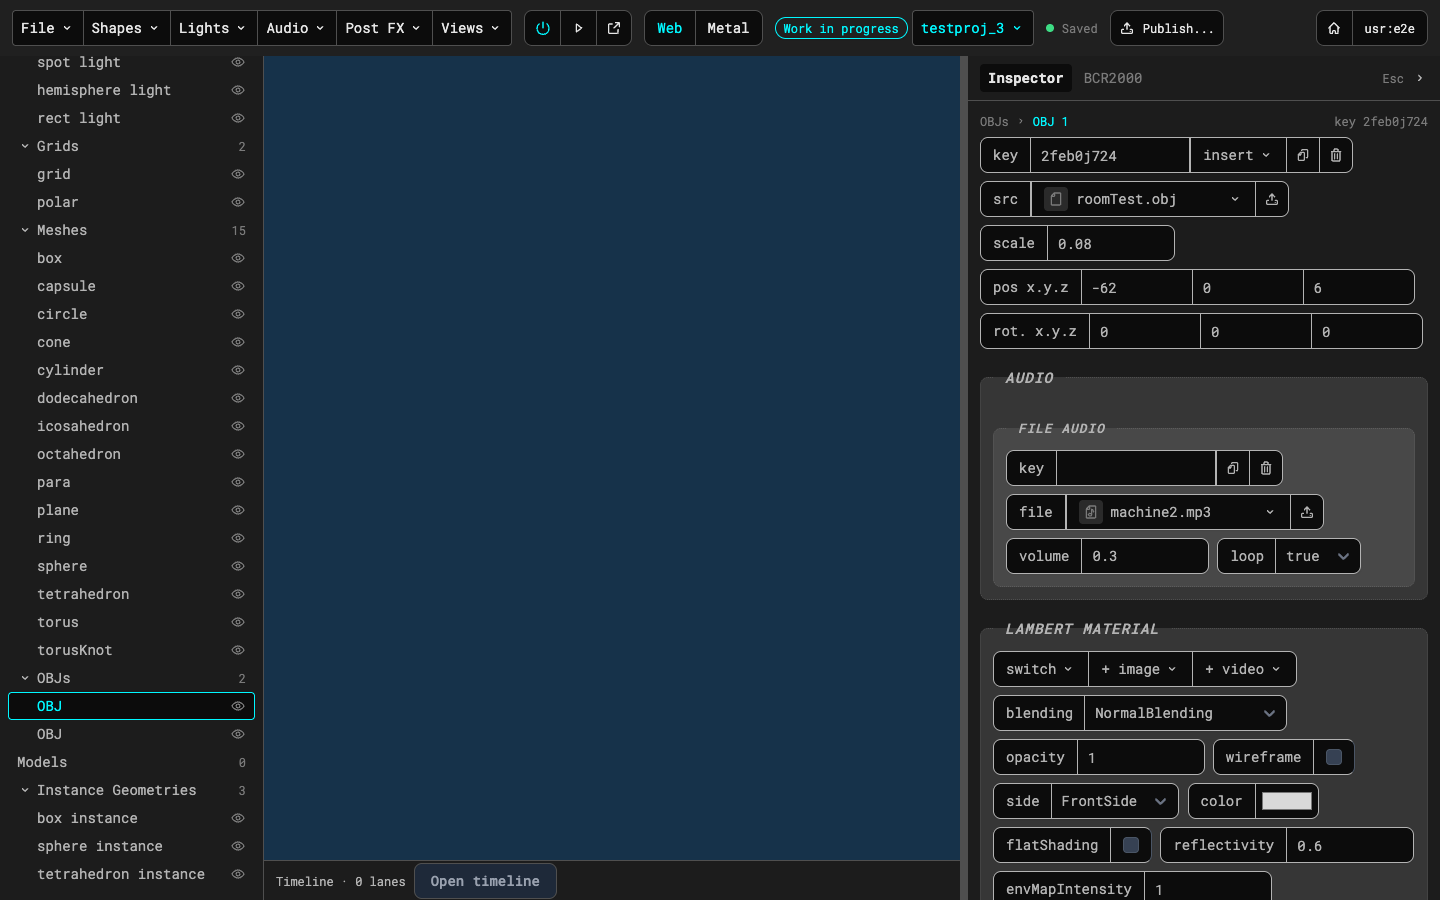
An OBJ is a 3D model loaded from a file. Pick the file in the src field, then set scale, position and rotation. One material is used for every part of the model. The insert menu adds a motion or positional audio.
Instance geometries
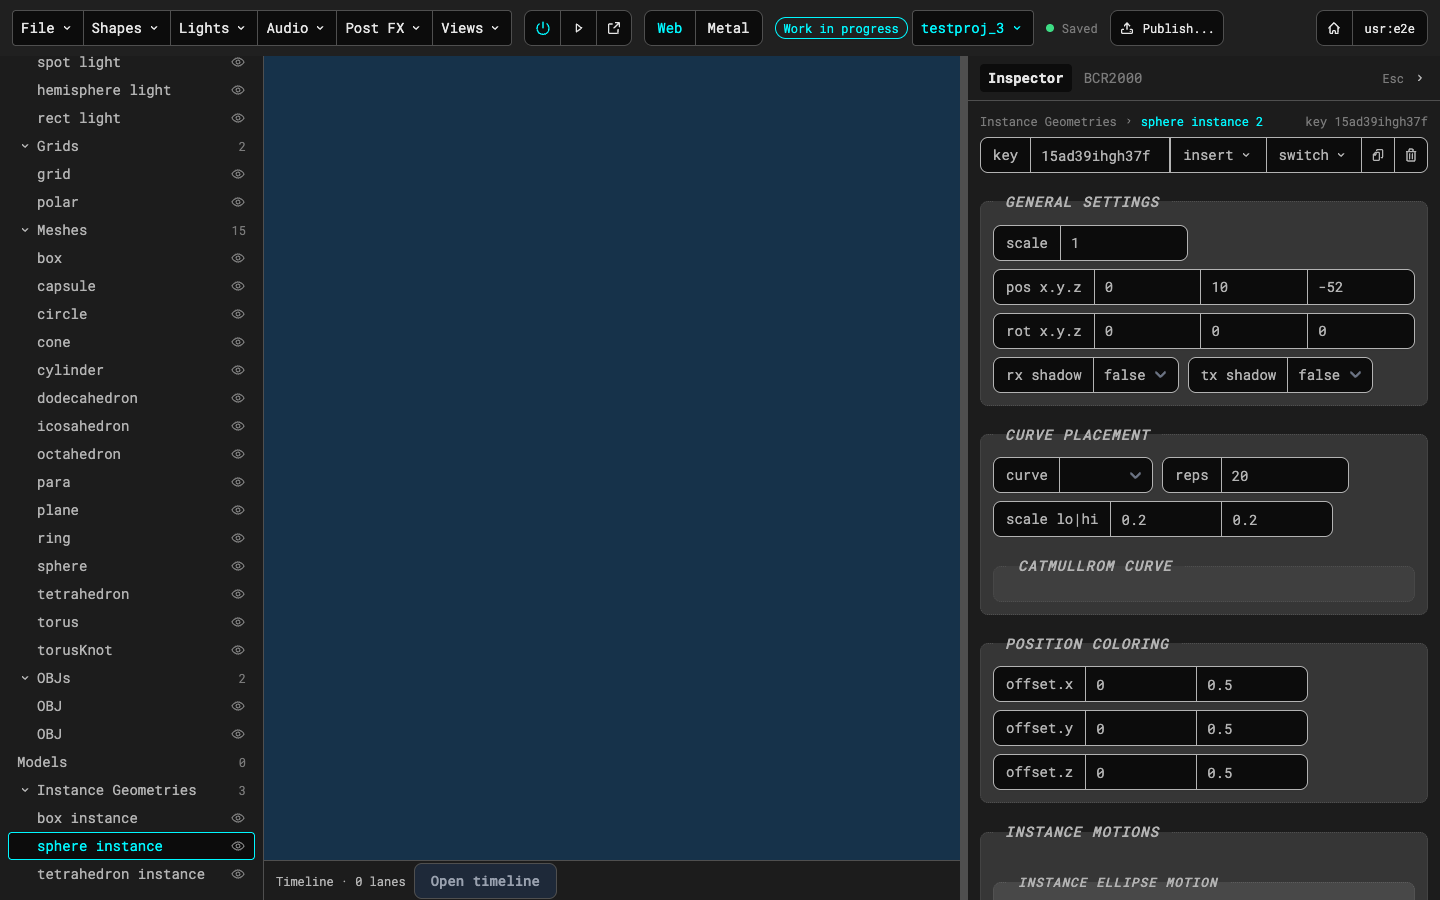
An instance geometry (also called a collider) draws one shape many times. Its panel has the general settings, a placement (how the copies are laid out: in an array, along a curve, or geometrically), colouring for the copies, the shape's geometry and material, and instance motions that move every copy. When the material is a shader, the panel also has a Shader uv setting: "across grid" (the default) spreads the shader over the whole grid, each copy showing its slice, the way a texture or video spreads over a collider, and the slices stay put while the copies move; "per instance" gives every copy the shader's own uv, so every copy shows the whole shader. A dial on a shader uniform changes all the copies in both.
Lights
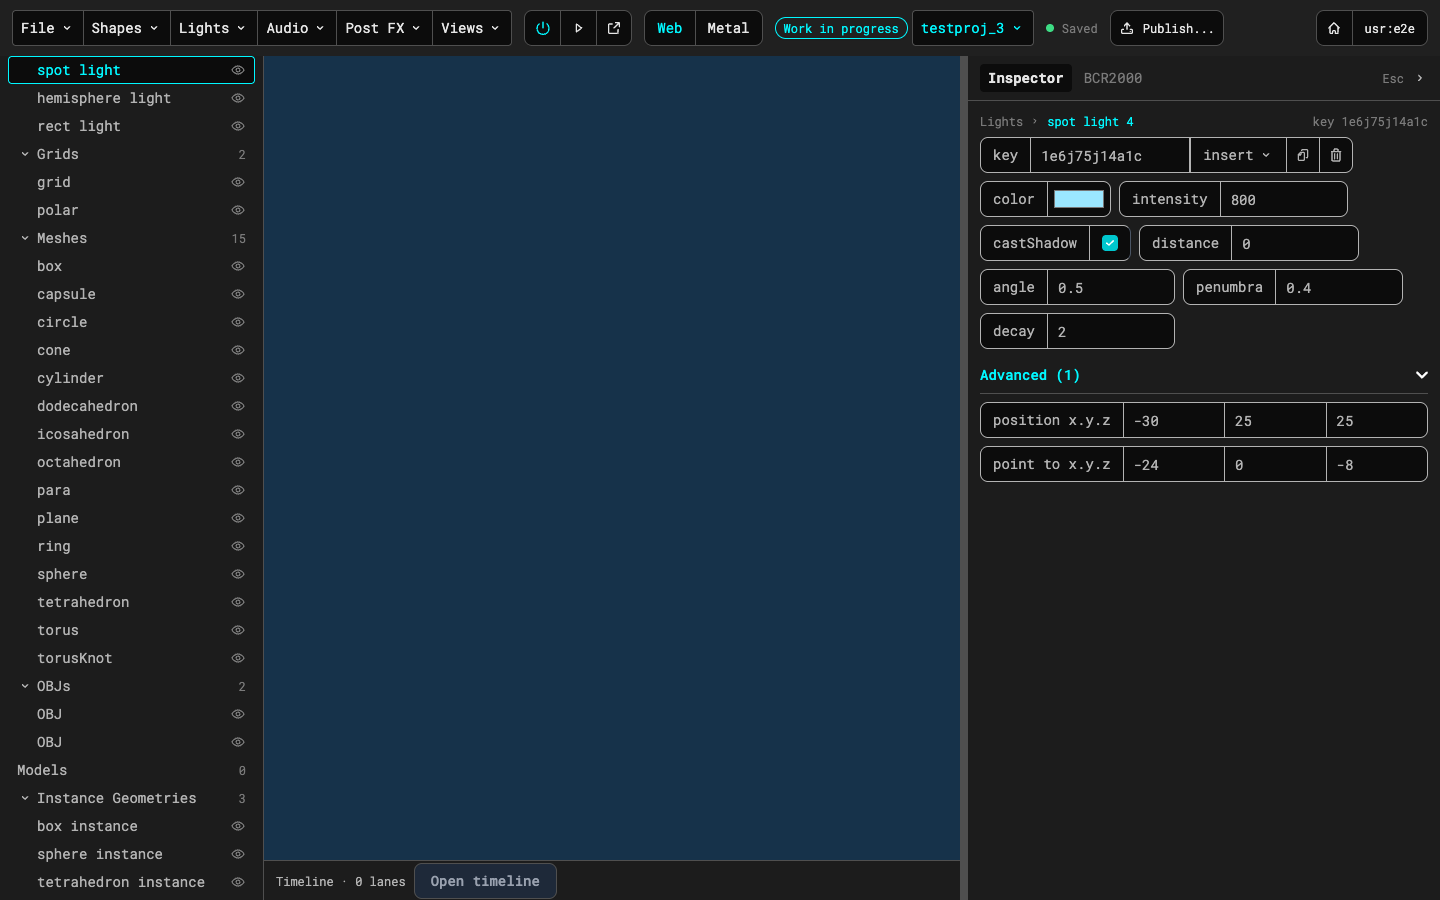
Each light has a colour, an intensity and the settings its kind needs: a spot light has distance, angle, penumbra and decay, and Advanced holds its position and the point it aims at.
Grids
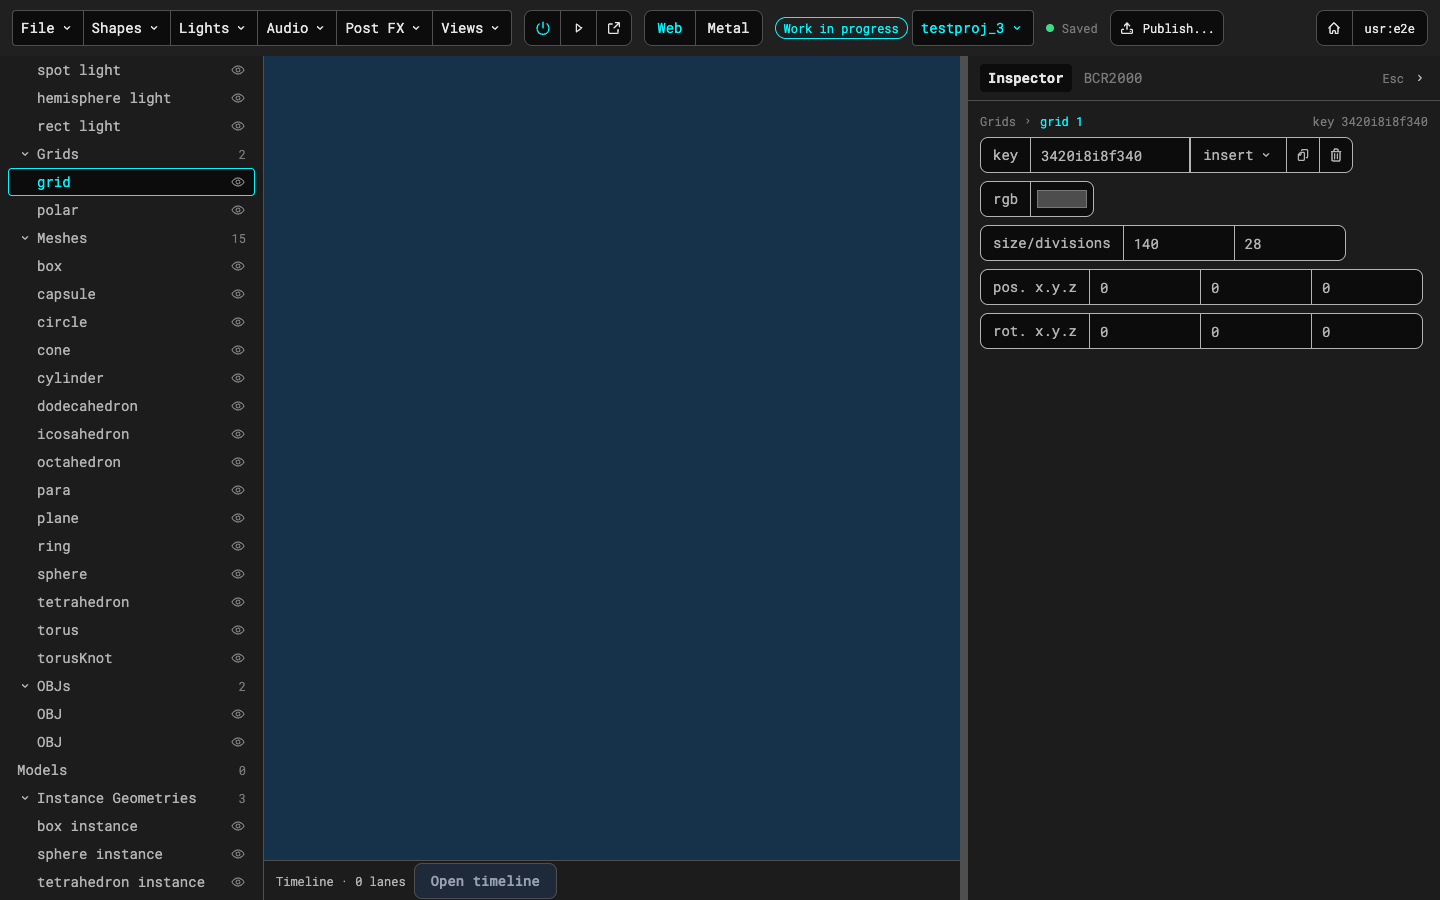
A grid is a flat reference grid, or a polar grid for the circular one. Set its colour, its size and number of divisions, and its position and rotation.
Audio
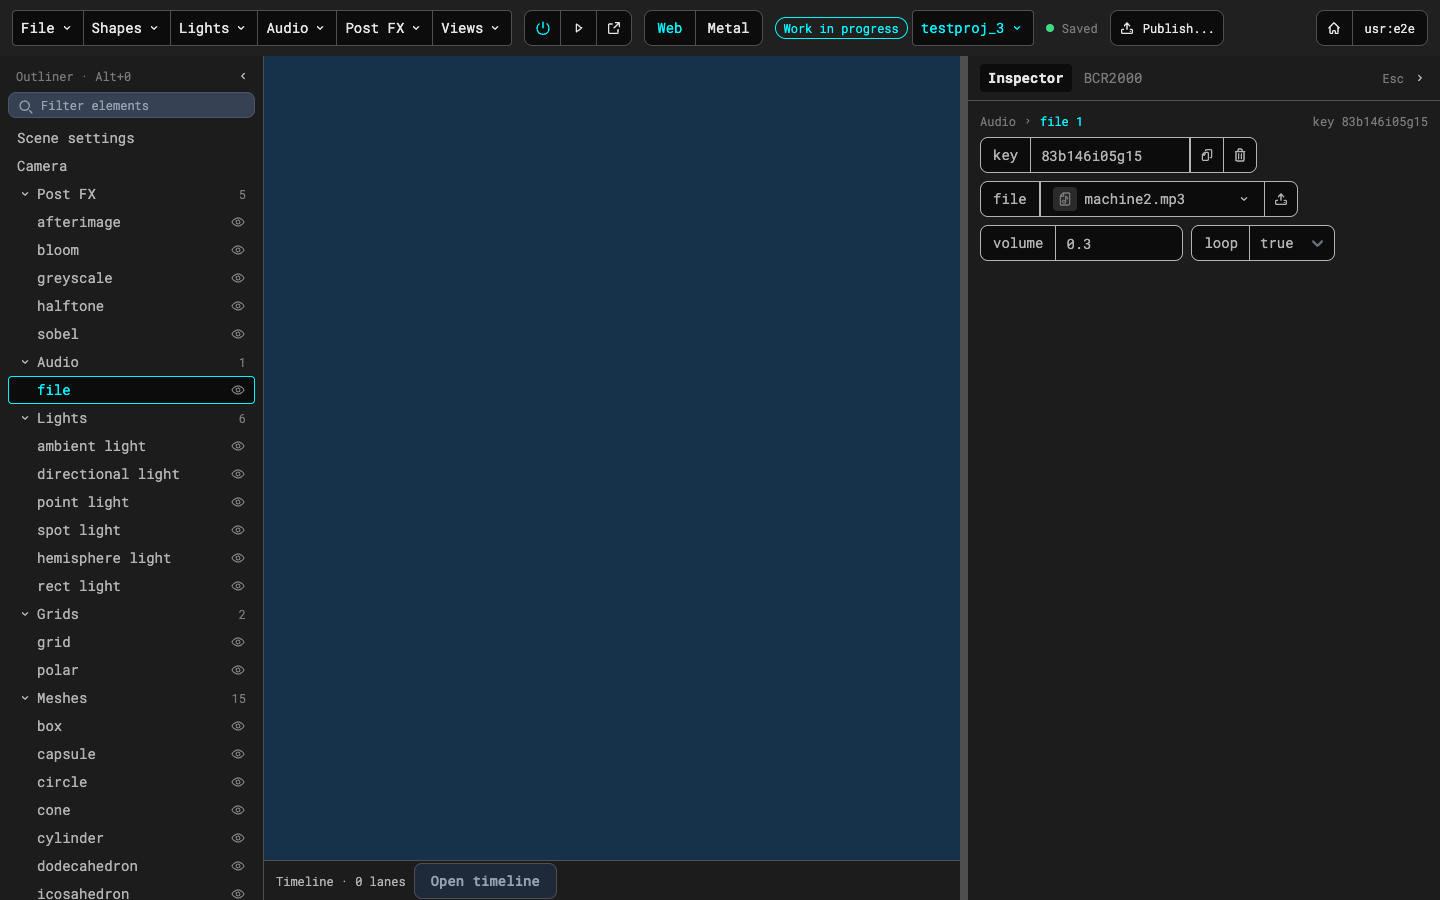
A scene-level sound. A file entry plays a sound file with a volume and a loop setting. Oscillators are positional audio: add them from a mesh's or OBJ's insert menu.
Post effects
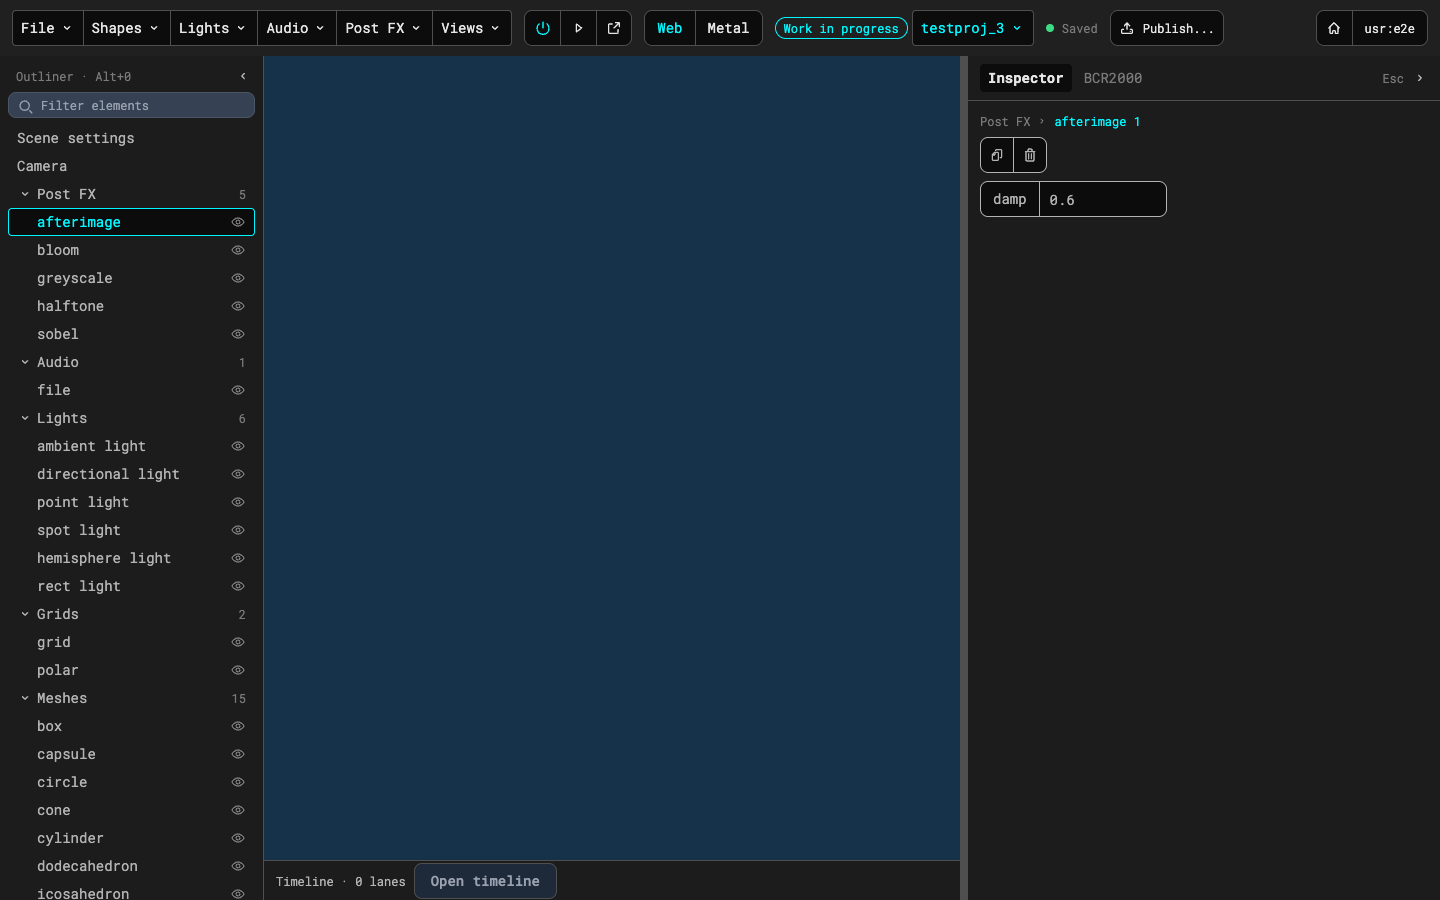
Each effect has its own few settings, for example damp on afterimage. Duplicate an effect with the copy button at the top of its panel (the copy goes to the end of the list and is selected), and delete it with the trash button next to it.
The effects run from top to bottom in the Post FX list, so the order changes the look. To reorder them, drag an effect's row in the outliner onto the row where it should go (the dragged row dims and a line shows where it lands), or select it and press Alt+Up or Alt+Down. The move is an ordinary edit: the preview redraws in the new order and it is saved with the next save.
A target dial on an effect type, such as scene.post.bloom, drives the first effect of that type. If a scene has two effects of one type, reordering them changes which one the dial drives, and the effect's panel says which one it is.